Description
In my opinion pig suede is the best looking material to use for lining a box. It has a wonderfully soft, warm and rich feel. And it’s very thin, typically around 0.5 mm, enabling you to get slim, neat folds along the lid margins, very difficult to achieve with many other materials, particularly thicker leather or velvet.
It’s also very easy to fit use in conjunction with my self-adhesive card. Click on the ‘lining advice’ tab below for advice on fitting, and some important dos and don’ts.
I’m offering three colours for now, blue, claret and green – all lovely rich colours. I will gradually add more colours – let me know if there’s a colour you need, I sometimes have others and will be adding more to the stock.
• 1/4 skin – approximately 3-4 sq ft – £19.95
• 1/2 skin – approximately 6-8 sq ft – £29.50
• whole skin: approximately 13-15 sq ft – £49.50
 The skins are irregular around the outside, of course, but these areas can be used for smaller lined elements – compartments of trays and so on, so it’s possible for there to be almost no waste.
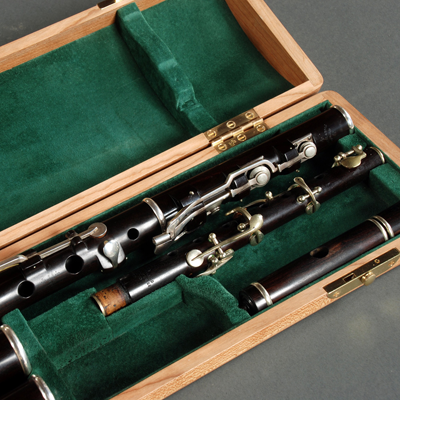
The edges are also the most stretchy making them ideal for covering awkward shaped pieces, for instance in a cutlery case. I use these bits all the time for covering the more complicated elements of the insides of flute cases … no folds or cuts!
lining advice
 lining advice:
It’s possible to line boxes with a wide range of fabrics – but I find pig suede to be the easiest and produces the best results. The following instructions are for lining a plain box, including all vertical surfaces, lid and base:
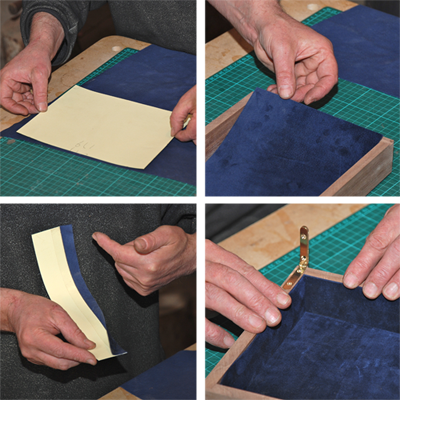
All pieces need to be attached to my adhesive-backed card – this allows complete control over dimension and shape giving professional results every time. The pieces are measured/fitted in place using copydex [[craft adhesive, latex-based]] in the following order:
• Measure base, cut card 1mm smaller, peel off waxed paper backing, afix leather, trim and fit
• Measure internal height [to lid margin] with base piece in place, cut strips of the card for vertical faces 0.5 – 1mm less than this value, depending on thickness of leather.
• Measure front and back exact length, attach card to leather and trim allowing 1/2″ extra leather along top edges. Affix 1/2″ double sided tape along the top edge of the back of the card and carefully fold over the leather forming the top edges and fit in place.
• Measure between these pieces for the ends and repeat for these.
• Repeat for the lid.
NB: The only edges that need folding over are where they are visible at the lid margin – all others are left as raw cut edges as they are covered by the other pieces as you fit them.
The following simple toolkit is all you need:
• a good cutting mat
• a firm straight edge – this is a good one, excellent with abrasive fixed underneath to stop slipping, and also very good for cutting veneer …
• a scalpel or other sharp craft knife
• 1/2” double sided tape
• ruler [pref mms!]
• pencil
• copydex [craft adhesive, latex-based]
I will be adding more advice and options in due course, including advice on fitting supports for trays, covering more complicated shapes and some more general lining dos and don’ts.