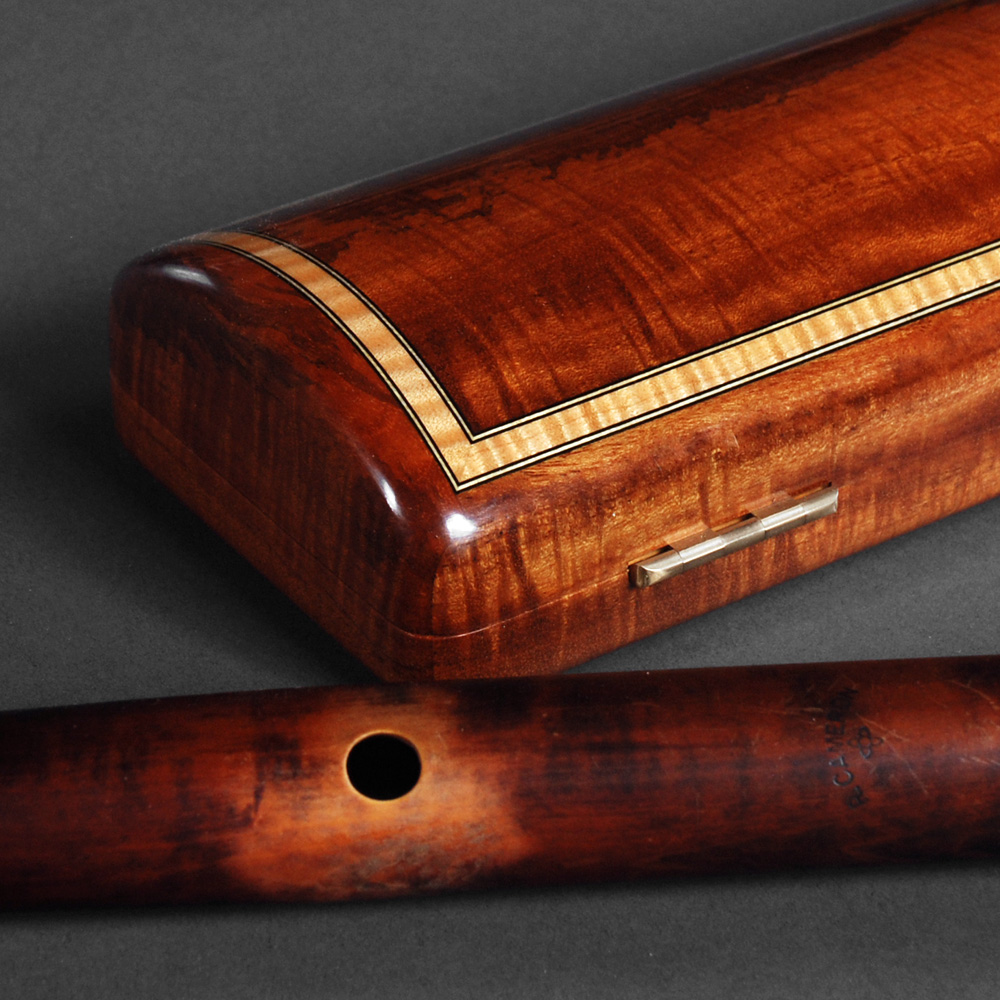
sycamore lines

£12.00£54.00

Available again after a long absence – the perfect way to enhance your box …

Also available in snakewood.

SKU: N/A Category:

Description

All handmade, these beautifully figured sycamore inlay lines are bordered with a fine black/white/black line, 8mm wide [so also 5/16″ for US users], 1-1.2mm thick, 500+ mm long.


The figure of these lines is very even, and a beautiful colour. There is some slight variation but I will do my best to ensure that each order of lines sent out is as consistent as possible.
sycamore inlay lines separator


fine boxes slideshow - a random introduction to the world of fine boxes, with a few surprises along the way
smartBoxmaker on Instagram

sycamore inlay lines separator

fitting advice

Advice on fitting smartBoxmaker 8mm inlay lines:

NB: I will be adding more material plus images to this very soon.

thickness: these lines are typically between 1.0mm and 1.2mm thick – I usually cut a groove about 0.2mm less deep than the line, therefore leaving around 0.2mm proud to be removed when the lines are all in place.


width: they are actually between 8 mm and 8.1 mm wide so they might need a very small amount of adjusting to fit into an 8mm groove. I normally slightly taper them by sanding their edges gently at a slight angle on a small sanding board until they just slip into place.


First cut all pieces slightly over length [3-4mm?] with a small, sharp razor saw and a mitre block. Number them so you know where they go and which way round.


Then form a perfect mitre with two pieces at one corner using a small disc sander and a 45˚ fence – adjust the fence if necessary.


tip: every time you trim a piece using the disc sander it will create a little fur on the end of the line – this must be trimmed off to ensure that the faces of the trimmed lines go together properly.


Adjust the position of these two pieces so that the black and white lines line up around the corner exactly.


Tape one piece firmly in place. Remove the loose piece and repeat at its opposite end, carefully setting up a second reference in the same way and tape this third piece in place.


Now you have your first piece, slightly over length, with a perfect mitre reference at each end. Mark the correct length accurately on the loose piece, trim back to the mark using the disc sander, check fit and glue in place.


This is piece one fitted. If you’re right handed it’s best to proceed anti-clockwise, always trimming to length to a mark at the right hand end of a piece – if you’re left handed, work around clockwise always marking and trimming at the left hand end of the pieces.


Whichever direction you’re working in, one end of your first fitted piece will give you the starting reference for piece two as you work around the box – you will then need one more reference taped in place at the orther end of this piece, then trim and fit in place as before. Repeat for piece three, and by the time you come to piece four you will already have a reference at each end: trim to length and fit.


tip: pieces should remain overlength until they are trimmed to exact length between two ‘fixed’ reference pieces. Pieces should be glued in place as soon as they’re trimmed to length, and ‘fixed’ means either taped in place or already glued.


I usually level these lines with a well sharpened cabinet scraper, sanding creates muddy coloured dust that can contaminate highly contrasting woods.


tip: when sharpening a scraper make sure the edge is as smooth, straight and square as it can be – a good analogy is the back of a chisel or plane iron. When burnishing don’t use too much pressure and only a very little angle.